Recent Tips and Articles by Bestwall Plastering
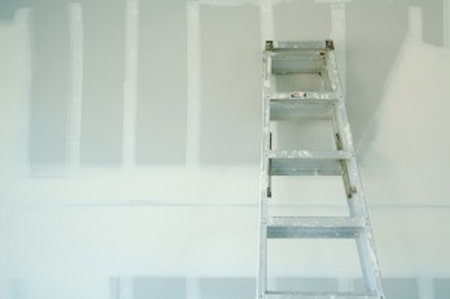
Is It Time To Do Some Repair Work On Your Drywall?
Should you attempt to do-it-yourself or hire a drywall contractor? The answer depends on the size and type of the needed repair. If the job is large and requires specialized knowledge, equipment and a significant investment of your time, you might want to hire a drywall […]
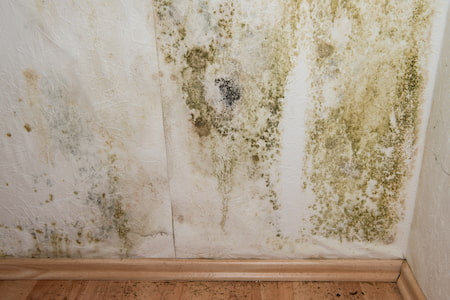
How Do I Deal With Water Damage After It Happened?
There are different types of home water damage and how you handle each one of them will be a little bit different. The main thing that you need to keep in mind here, is that water damaged building products attract mold, mildew and fungus. If you have […]
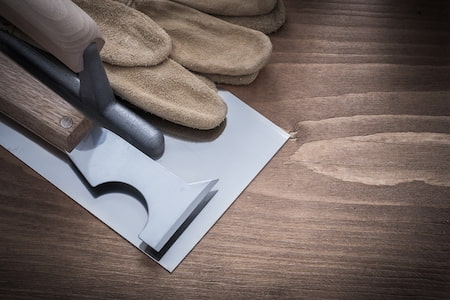
How To Hire Your Plaster Contractor And Save Big Money
Hiring a plaster contractor may be the wisest choice when you decide to repair and renovate your old plaster walls and ceilings. when you don’t have confidence that you can learn to repair your own plaster when you don’t have the time to do it yourself when you want […]
Hiring The Right Drywall Contractor To Renovate Your New York Or New Jersey Home
Renovating your New York Or New Jersey home is major undertaking; hiring the right person to do the job is critical to the outcome of your project. It cannot only be one of the most expensive projects you can do; it can also be one of […]
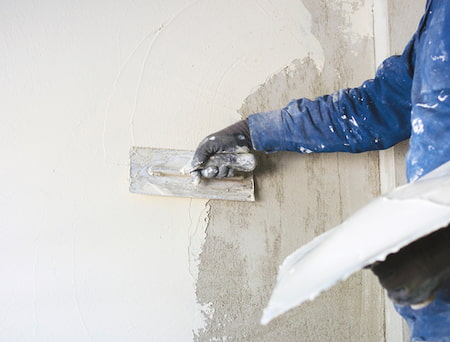
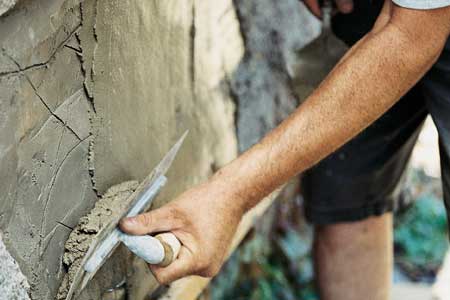
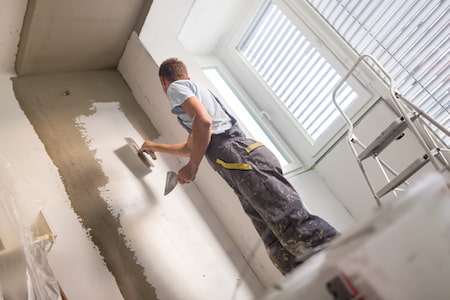
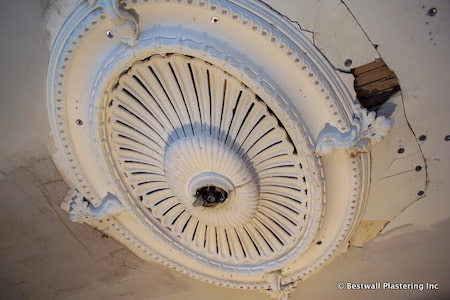
Why Plastering Is An Art, Not Just A Skill
Plastering a wall or ceiling may look easy, but anyone who has had a go themselves will know just how tricky it really is. A good plasterer is so highly skilled in his or her craft that they can make the job look effortless. Smooth, creamy […]

New York Venetian Plaster - Its History & Modern Use
Venetian plaster is enjoying a popular revival with the modern renaissance of Italian wall finishes. These finishes while new to some, possess a lineage dating back thousands of years to the early civilizations of Mesopotamia. Unrefined clay plasters were replaced with a mixture of raw lime […]

Union Plastering Makes The Wall Stronger
From any person seeking to learn or enhance their skills in home caring and servicing to newbie’s who want to grow to be specialist trades-people within the construction industry, you can find courses in plastering, plumbing, tiling, kitchen fitting, designing, bricklaying or construction that you could […]
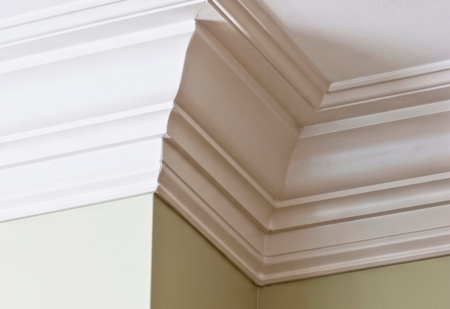
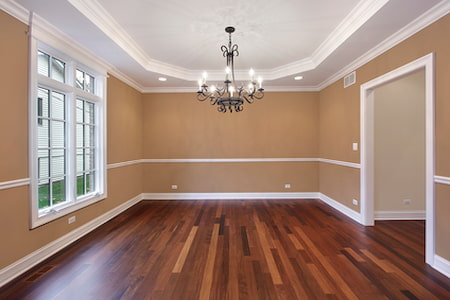
Types Of Armonk Crown Molding - Choose The Best
If done creatively, crown molding can transform your Armonk interiors in the most aesthetic manner. Crown molds, installed at the point where ceiling meets the walls, can either break or make your room décor. So, it’s important to choose the right type of molding that complements […]
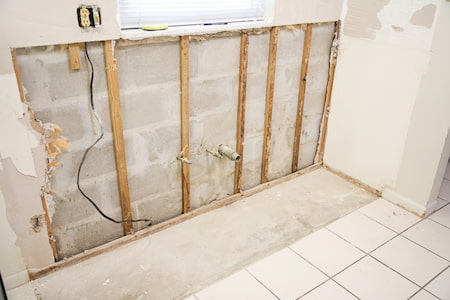
Securing Your New Jersey Home From Immediate & Impending Risks Of Water Damage
Water damage repairs are necessary to ensure that the structure of your New Jersey is safeguarded and protected from deterioration. As we all know, water damage is a big concern for many homeowners. It is a form of loss that results from the intrusion of water […]
Choosing The Best Drywall Contractor In New York
Naturally, you will need to hire the best New York drywall contractor to do the job because the walls of your house are the largest surface that someone looking at your house will see. When you get a professional drywall contractor to do the job, the […]

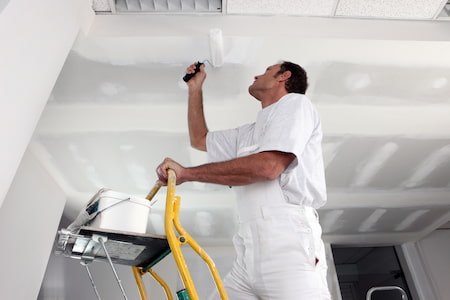
Leave The Finishing To A New York Drywall Contractor
Over the years, I have reluctantly undertaken many drywall projects. Not by choice, but simply out of necessity. When money has been tight, rather than hiring a qualified New York dry wall contractor who actually knows what he is doing, I have often gotten in over […]
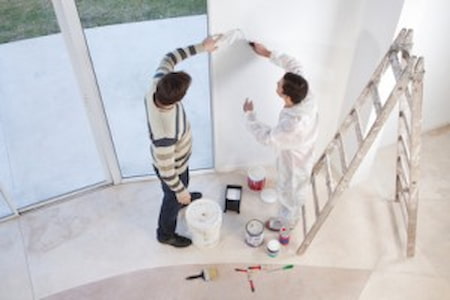
For Beautiful New York Home Interiors Use Professional Drywall Services
New York Drywall installation and repair is often undertaken by do-it-yourself home improvement enthusiasts. While drywall does have the advantage of being a fairly easy building material, it is still difficult to get excellent results without professional equipment and experience. A professional New York drywall company will […]
Why Professional New York Drywall Installation Matters
New York Drywall installation and repair is often undertaken by do-it-yourself home improvement enthusiasts. While drywall does have the advantage of being a fairly easy building material, it is still difficult to get excellent results without professional equipment and experience. A professional drywall company will bring the […]

Why Does My New York House Plaster Crack?
Is your New York house plaster cracking? This is actually a very common problem, especially in wood framed houses. Before we get into the reason your house plaster is cracking, realize that home plaster walls and ceilings can be repaired, and simple repairs can be done by […]
Alpine Water Damage Repairs: Call A Professional
Water damage can symbolize problems, loss and ruins because of the power of water. Understanding how water can damage your home can help you solve the problem. If your house constantly experiences water leakage and clogging, you shouldn’t just ignore them. Whether your property is residential […]

Finding The Perfect South End Plastering Contractor
Find a good South End Plastering Contractor to do the repair and renovation in your home. Find one from the local builders with a good reputation and you may talk to a few of them. After narrowing down your search check out their completed jobs and […]
What You Need To Know About A Danbury Plastering Contractor
A Danbury plastering Contractor is expected to have knowledge of several types of plastering like internal plastering, external plastering, plaster slabbing, metal studding, spray plastering, skimming, floating, screening and dry lining. Some special services offered by some are pebbledashing, rendering, coving, damp course installation or Tyrolean. This […]
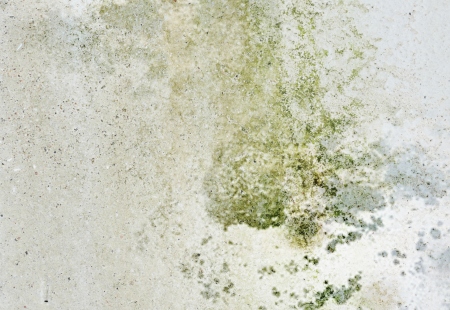
What You Need To Know About Water Damage
There are a variety of things that can cause water damage. Flooding from hurricanes, torrential downpours, leaky pipes, or backed up sewage can all cause water to flow into even the most secure parts of your home and cause serious damage in no time at all. […]
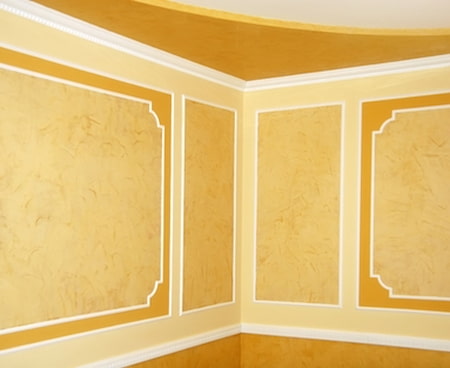
New York Decorative Wall Plastering Designs
Wall plastering offers a unique dimensional finish. There is plaster available today made with acrylic polymers, which makes it more durable. Many home improvement stores don’t sell the same plaster formula used by professionals. Depending on the formula used, the obtainable designs vary from smooth to […]

Differences Between Venetian Plaster And Stucco
Venetian plaster in New York and New Jersey is a texturing technique that has a long history that dates back to the Roman Empire. The materials and original techniques were developed in Italy. It was developed as a faux decorative wall finish that was designed to […]
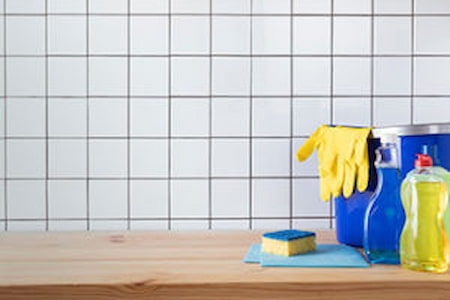
How To Clean And Maintain Wall Plaster
Caring for your plaster walls is smart. By patching holes, fixing cracks, replacing crumbled plaster, painting, and keeping the surface clean, you avoid extensive plaster repairs and the surface stays beautiful for many years to come. While there are different types of plaster available today, this basic […]
Issues That Water Damage Can Lead To
Your home is an important and costly investment, and you need to maintain that investment by undoing any damages that can affect it. One of the worst of these damages is water damage. This problem can develop because of a number of unavoidable issues: Flooding Burst pipes Poor insulation Should […]

Top 3 Signs You Need Plaster Repairs
If your home has plaster, you’ll need to work with a plastering company for services over the years; it makes sense to opt to partner with a professional that specializes in this type of material. However, it’s not always as easy to spot the need for […]